6 Easy Steps to Dental Charting in Veterinary Practice
Completing a Dental Chart is an important step in every veterinary dental procedure.
Maggie Burley, VTS (Dentistry), Clinic Support & Education, iM3 Australia | May 2025
Completing a Dental Chart is an important step in every veterinary dental procedure. It documents the oral condition prior to treatment, identifies all pathology found both on physical examination and radiographic assessment, as well as being a record of all treatment performed. In combination with patient history, examination findings, photographs and xrays, the dental chart completes the patient’s record.
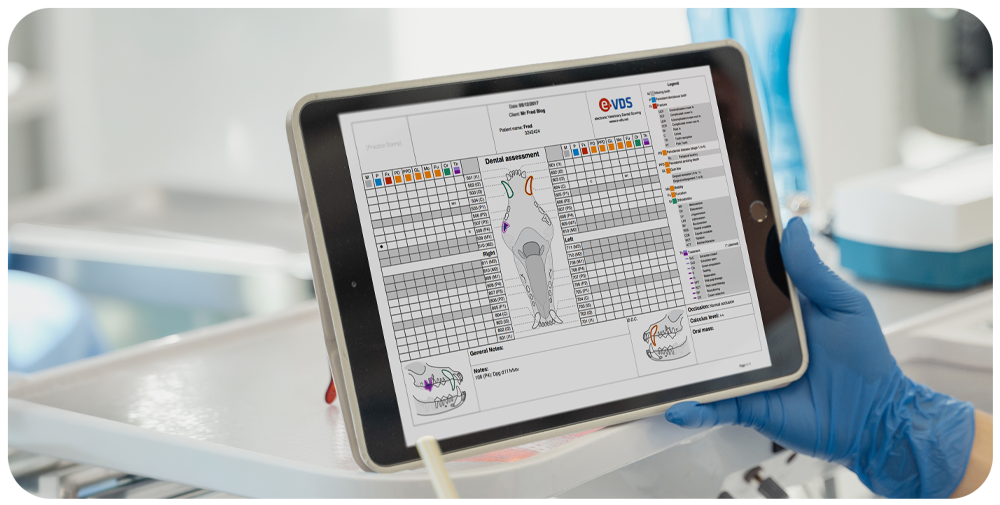
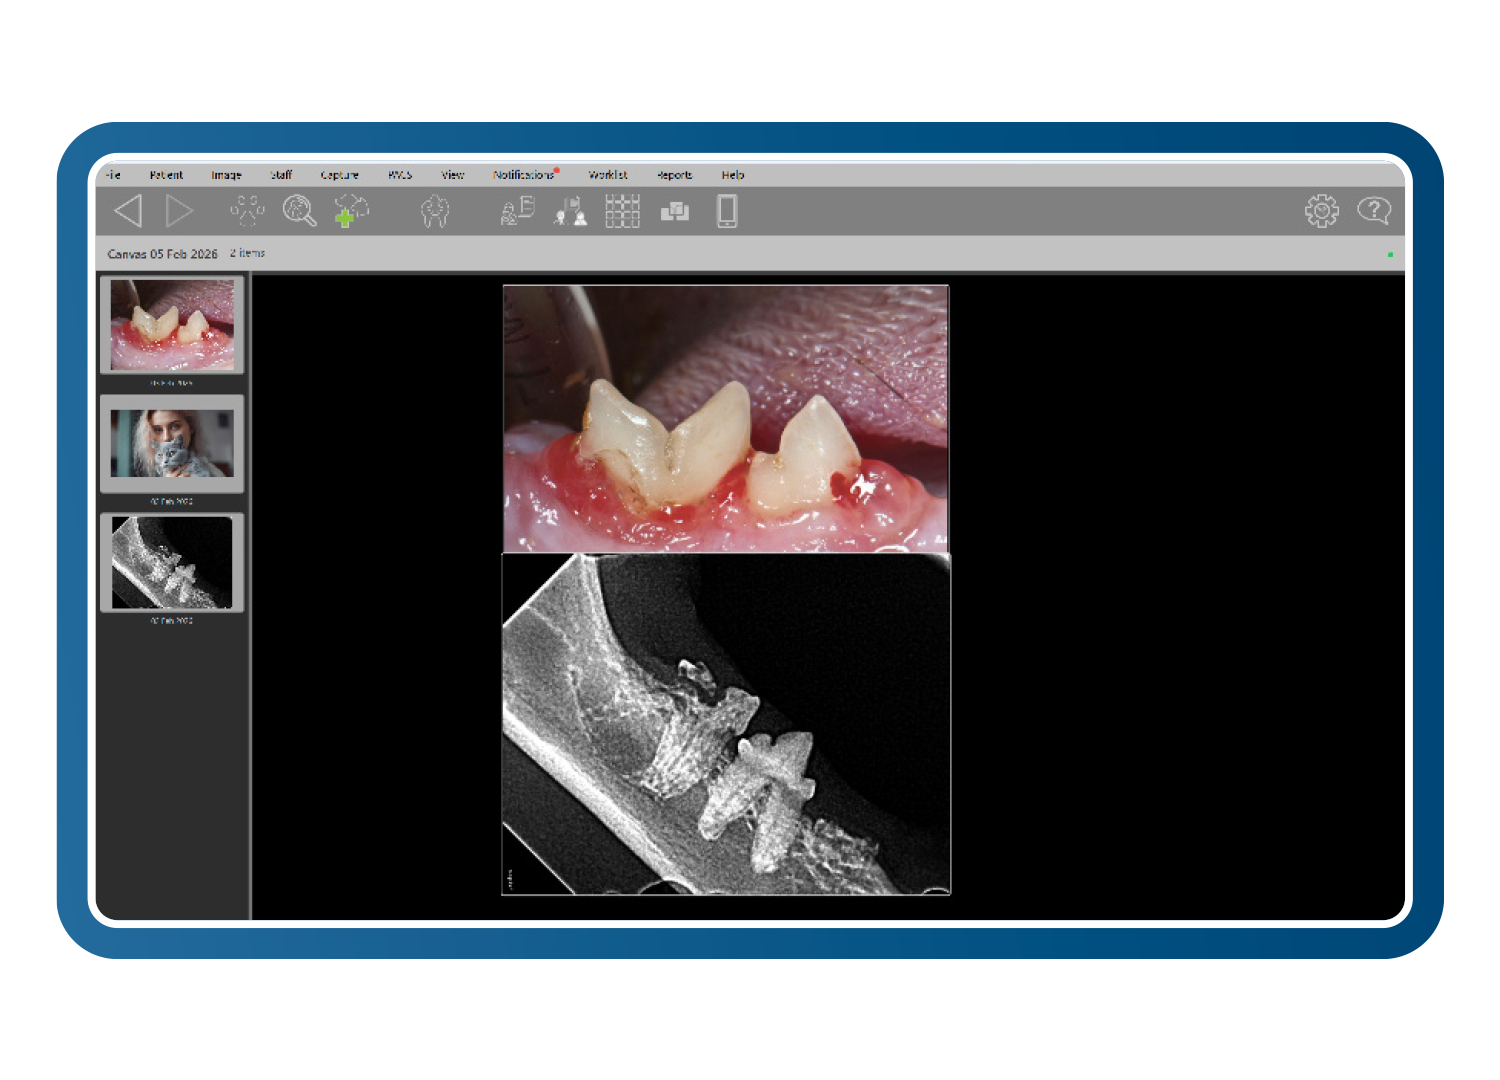
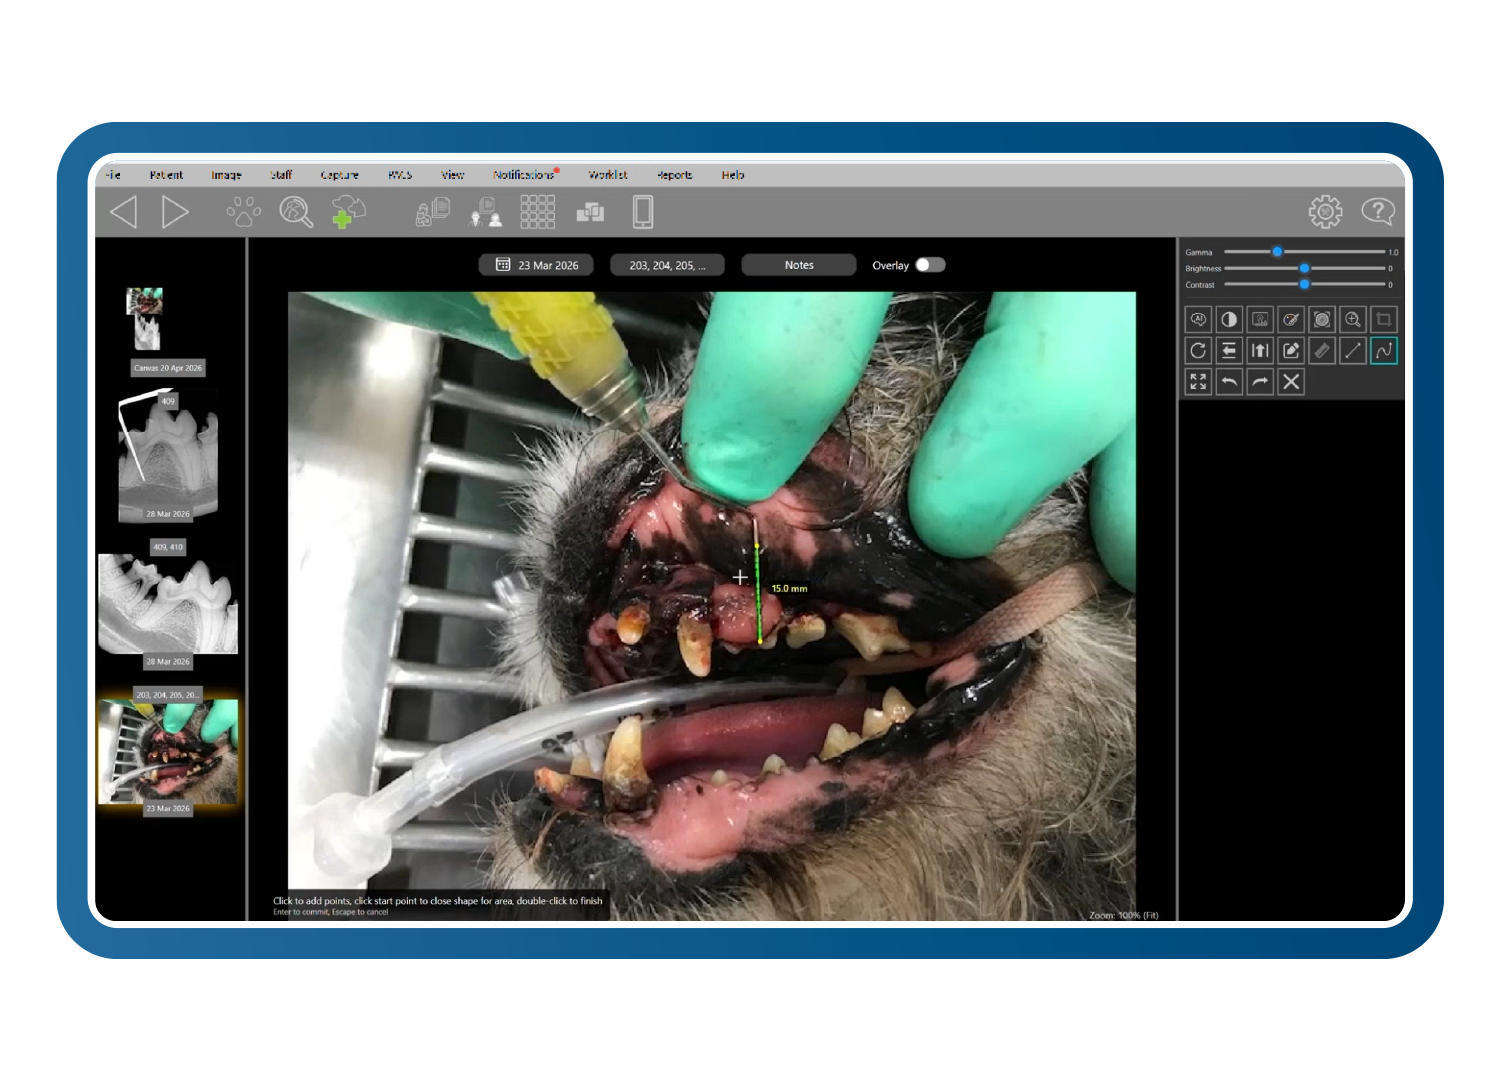
Clinical findings scored on E-VDS dental charting software, providing thorough documentation and history for each patient.
Dental Charting should be performed in the most efficient manner using a systematic approach – the Clinician performs the examination while the Veterinary Nurse/Technician completes the record. Let’s look at some simple steps to make Dental Charting more efficient and accurate for your team.
To ensure efficiency, remember that a Blank Dental Chart denotes a healthy patient – ie one that has no abnormalities. Only ‘abnormalities’ are recorded on the Chart not anything ‘normal’ or healthy. This will save you time and keep your Dental Chart clear with only pathology and treatment appearing. I have provided you with industry standard abbreviations to use when recording on your dental chart – the abbreviations appear in brackets throughout this article.
Step 1: Conscious Patient Exam
Recording the condition of the oral cavity commences prior to induction. An assessment of these key areas:
Occlusion / Bite Assessment (MAL)
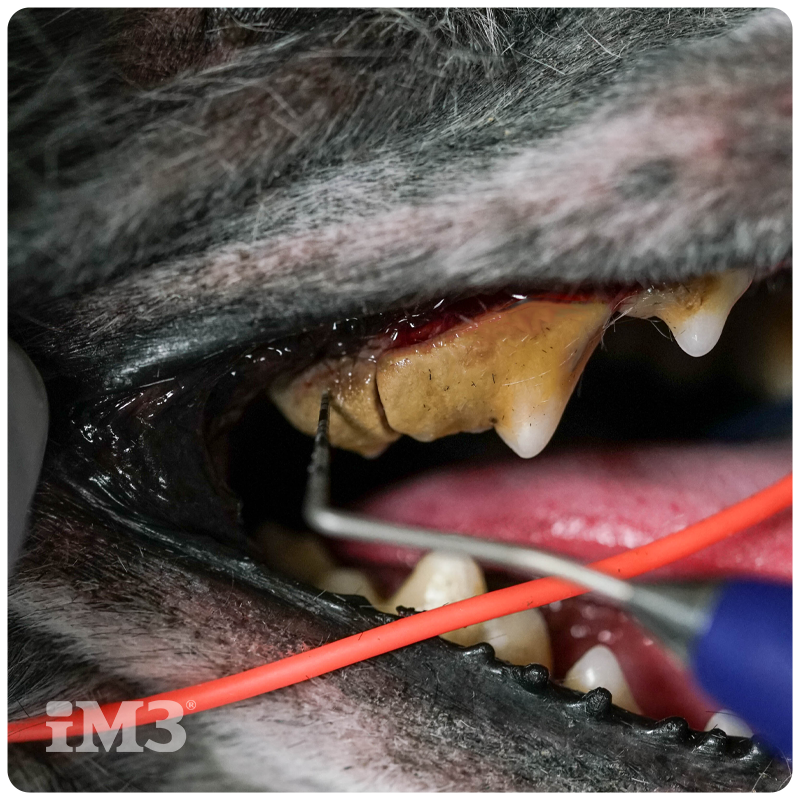
Malocclusions, particularly traumatic malocclusions, are assessed in the conscious patient. The mouth should be closed and assessed on both sides, and from the front looking for any tooth-on-tooth or tooth-on-soft-tissue contact. Record the Class of malocclusion and any traumatic contact.
Oropharynx Assessment
Prior to intubation an assessment of the oropharynx should be carried out. It should also be noted that an examination of the oral mucosa, lips and cheeks, hard palate and the floor of the mouth is a necessary step in the anaesthetised patient oral examination.
Step 2: Use a Standard System
Consistency across the team improves efficiency and accuracy. The Chart is designed to be read from top to bottom – do the same with your assessment.
Begin assessing each tooth from the maxillary first incisor (eg 101) to the molar (eg 110), working from the front of the mouth to the back. Then begin the mandibular examination by simply dropping down to the mandibular molar (eg 411) and working toward the first incisor (eg 401).
This allows for your nurse to follow along from the top of the chart to the bottom creating less confusion allowing you both to work efficiently – saving time with your Charting. Teamwork makes the Dream-Work!
Assess each tooth in turn for:
- Primary (deciduous), permanent (adult) or persistent deciduous tooth (DT/P)*
- Missing (Circle) and/or supernumerary teeth (T/SN tooth number)*
- Abnormalities in size or shape, angulation and/or position
- Wear patterns – Abrasion (AB), Attrition (AT)
- Pathology – Enamel Hypoplasia (EH), Tooth Fracture (UCF/CCF)
*Findings to be confirmed with diagnostic radiographic examination.
Step 3: Periodontal Examination
It is as simple as 1, 2, 3 – Mild, Moderate, or Severe. Using a standardised scoring system (indices) across the assessment of Calculus, Gingivitis, Furcation Exposure & Mobility also helps with efficiency and accuracy and are described in the below table:
Prior to Cleaning
Prior to cleaning, calculus attachment should be recorded. An average for the quadrant as a whole rather than on individual tooth. However, should one tooth (for example) have a vastly different Score to the Quadrant, then that should be recorded adjacent to the tooth on the Chart. An example of this is an upper 4th premolar that has a Calculus Score of 3 in a Quadrant with an average score of 0-1.
Post-Cleaning Assessment
Gingival Score (GI 1-3)
This score is given to assess the extent or severity of Gingivitis seen. The more severe the erythema and oedema, the higher the Score.
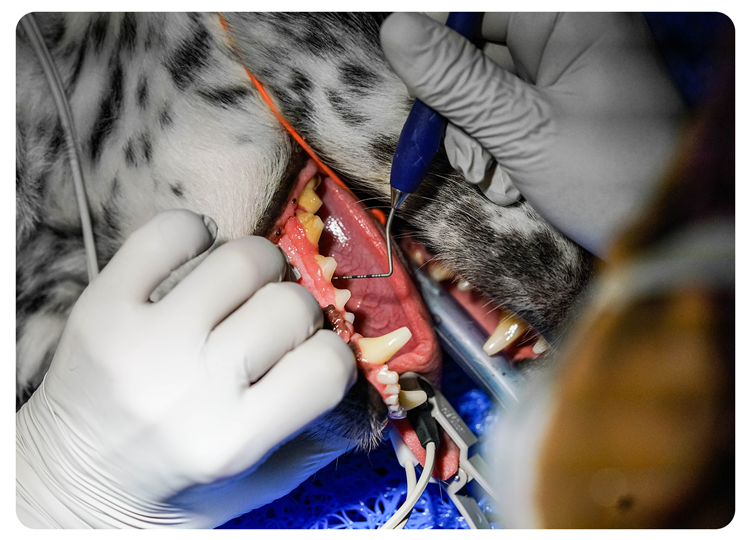
Probing Depth (mm)
To assess Probing Depth, gently step the periodontal probe in multiple locations around the neck of the tooth while keeping the probe parallel to the crown of the tooth – place the probe gently until resistance is felt and take your reading. A helpful tip is to know the length of your probe (ie 10mm, 13mm, 15mm or 18mm) – when the probe is placed into a pocket, simply count backwards from the length of the probe which will give you the depth of the pocket.
This then is recorded onto the Chart in the location that the pocket is found. Remember that normal sulcus depth in dogs is up to 3mm, and in cats up to 1mm and these don’t need to be recorded.
Gingival Recession (GRmm)
Measure any Gingival Recession and record at the location found on the Chart.
Furcation Exposure (F 1-3)
Furcation exposure is measured by placing the tip of the Periodontal Probe between the roots of the multi-rooted teeth to assess the extent of bone loss and gingival attachment loss.
Mobility (M 1-3)
The mobility (movement) of a tooth is measured by the distance that the tooth moves by applying pressure with the elbow of the Periodontal Probe.
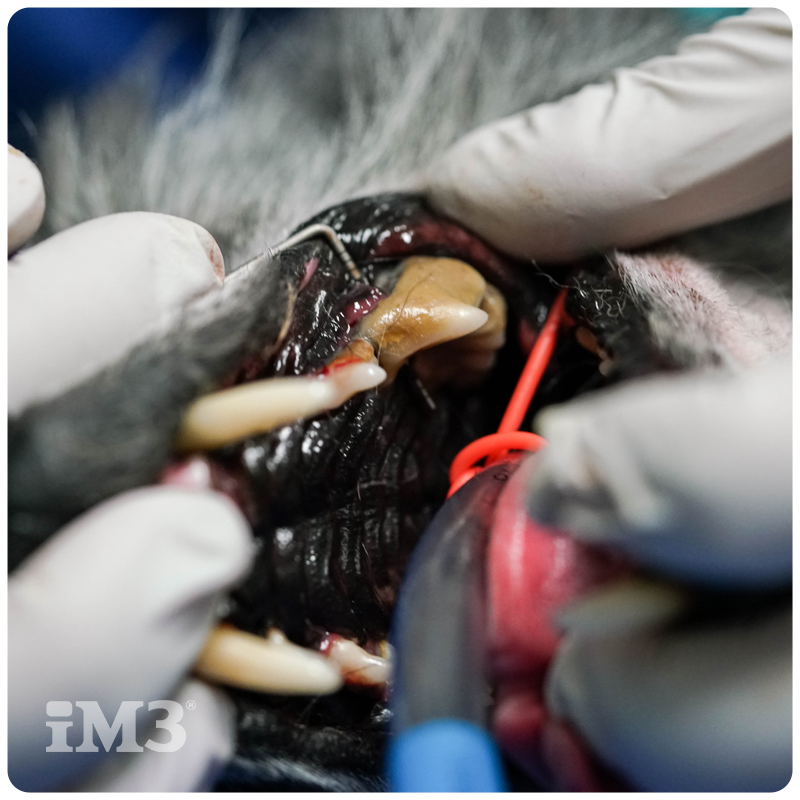
F3 : periodontal probe passing through the furcation area.
Assessment of tooth mobility using a periodontal probe.
Step 4: Record Radiographic Findings
Dental Radiographs help to diagnose all oral pathologies seen in small animal patients, but not just what it is but to what extent.
Tooth Resorption (TR)
Since we find tooth resorption in other species, we no longer use the abbreviation FORL. You’ve saved 2 letters!
Oral Masses (OM)
Drawn on Chart in correct location with OM written beside.
Step 5: Treatment & Notations
All treatment performed is recorded on the Chart – remember that this includes the Professional Dental Cleaning (PRO) and Radiology (RAD) performed.
Extraction – X marks the spot! When a tooth is planned to be extracted an oblique line is marked through the tooth on the Chart. Once the tooth has been extracted, it is confirmed on the Chart by a second oblique mark – making the ‘X’ that often represents an extracted tooth.
Sometimes, there is not a simple way to record what you have seen or the treatment you have chosen. In this instance write short notes onto the Chart to give better clarification.
Step 6: Transcribe & Provide
The final step in the Dental Charting process is to transcribe all of your findings and treatment into the patient record, scan the Chart as a visual representation of this patient’s assessment and treatment. Then provide your client with a copy of the Chart. This is a really useful tool in describing the assessment and treatment with the Pet Owner during the Discharge Appointment.
There are many abbreviations used in the shortform recording on Dental Charts. The American Veterinary Dental College website is a great resource for you to create your own language specific to your practice and the cases that you see and treat.